Sunday, August 17, 2014

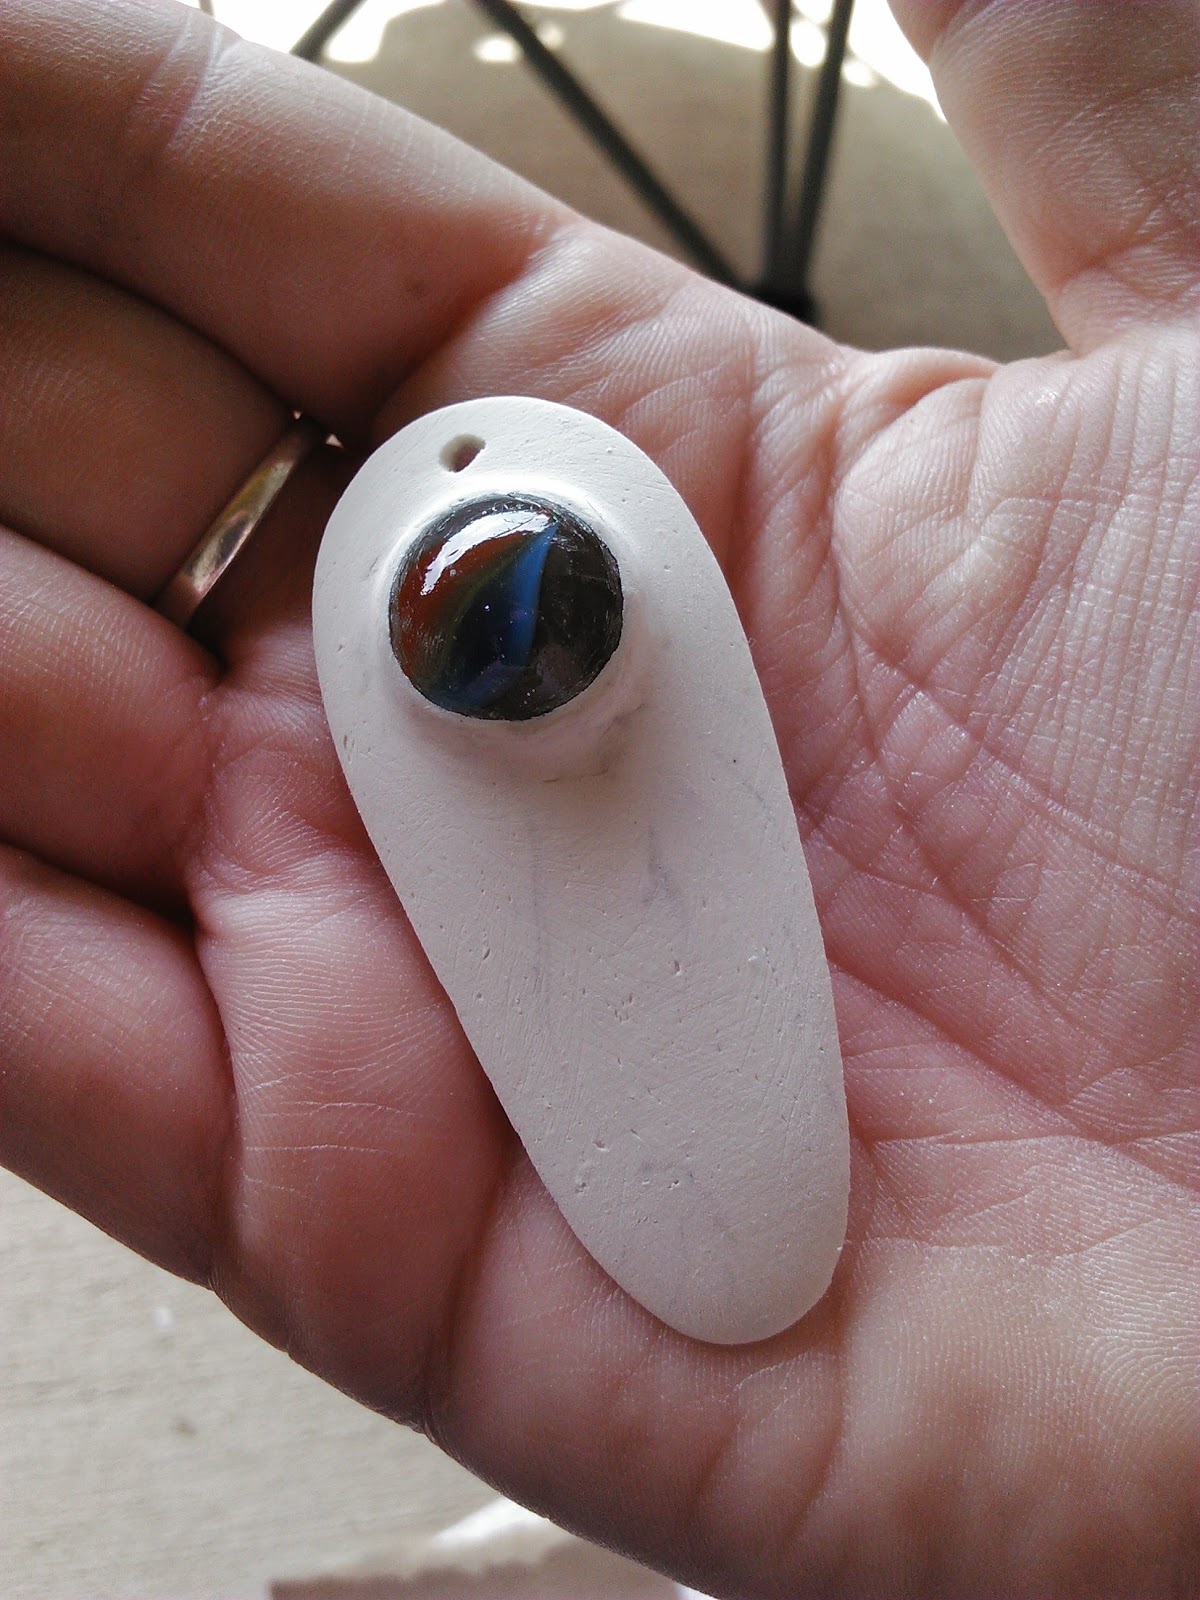
Star Trek Cabochons and necklace

Those of you who've been reading this for the last several months may notice a few new changes.  Now that I've got lots of crafts up, I'm adding a page to make finding a specific project easier, in addition to what I've got on my Etsy shop.  The numbers for this blog keep going up week after week and I want to make it easier for new people and crafters to see what there is to see.

Speaking of Etsy, I'll be producing some components that you'll see on the crafts here, like the cabochons in this project.  You can purchase them here.
Thank you to everyone who has come to my site.  I hope that I can continue to inspire you all.  

Star Trekkin' across the Universe

I remember sitting down with Mom, Dad, and my brother to watch Star Trek: The Next Generation every week when I was a kid.  Mom loved the original series, so we'd gather around the tv to watch the latest episode on UPN.  The Inner Light, where Picard encounters an extinct alien civilization, is one of my all-time favorite episodes. I still cry at the end!

I love seeing the evolution of Star Trek as it responds to new concerns and values in our culture at large.  It's always been a groundbreaking show, and I hope that future incarnations, whether fan-made or Hollywood made continue that tradition.  I follow several former cast members on social media because they seem like genuinely nice, interesting and compassionate people.  I've seen every episode of the original series and TNG, a few seasons of DS9 and  Voyager, a few episodes of Enterprise (Didn't like that one), the animated series AND the web series Star Trek Continues.  I've watched documentaries about the fandom and the wonderful series hosted by Shatner called The Captains, but I don't consider myself a Trekkie or Trekker because I'm not involved in the fandom. 

I was looking at a cameo and I wanted to do a simple design that would have a lot of visual impact. I decided to do the iconic Starfleet insignia.  My original idea was to do some sort of piece glued into an ornate bezel to resemble a cameo.  I wasn't able to find any bezels that I liked, so I ended up wrapping the cabochon in wire.

Fun fact... The delta shape was originally the insignia for the Enterprise crew on TOS.  You'll see different insignias on the crews of different ships.  Lore has it that it became the Starfleet symbol after the Enterprise was the first ship to return safely from its 5-year mission.  

Aw, hell.  Maybe I am an antisocial Trekkie.  There are worse things to be!

Sunday, August 10, 2014

Dr. Who TARDIS mini Journal and necklace

I can't wait for the new Dr. Who to start up this month, it's one of my favorite television series! I'm going to miss Matt Smith, but I'm excited to see what Peter Capaldi will bring to the role.  I wanted to do a Dr. Who craft for the blog, but I wasn't quite sure what I was going to do, until I went cavorting on my one of favorite craft inspiration sites, YouTube.  I stumbled across some book making tutorials and because I'm a little nuts, I thought it'd be a lot of fun to do a miniature of River Song's TARDIS journal.

I wasn't satisfied with the tutorials I found.  The crafters did a fine job with their materials and came up with some great journals, but they didn't look like the stills from the show.  They'd glued
something, usually card stock or cardboard on the top of their existing journals, which gave very sharp edges to the journal, however the prop makers seemed to have embossed the leather instead. I wanted something that looked closer to the prop, so I went looking for a material that I'd be able to work with that wouldn't cost me a ton of money.  I had some craft foam left over from a previous project and so I decided I'd give it a shot.  I think it looks a little more like leather than some of the examples I saw.  Of course, after painting, mine's not an exact copy of the journal from the show, either, but distressed items rarely look the same.

I wanted to make a necklace after seeing some of Jill Weisman's beading tutorials on YouTube, so this was a perfect opportunity to combine them both into one very stunning necklace.

Oh, and NEWS!  I have an Etsy shop now where you can find all of my crafty goodness for sale.  Most of the items listed there will be one-of-a-kind items all inspired from the blog.  You can find the pieces at the shop tab up at the top, too.  It'll take you to Etsy to purchase.  Go check it out!  I'll be here when you return, I promise.  :)

Sunday, August 3, 2014

Cosmos Jewelry part 2: The Spaceship of the Imagination

When I saw Cosmos: A Spacetime Odyssey, I knew I wanted to sculpt the Spaceship of the Imagination.  If you haven't seen either of the series, the spaceship is a magical creation that can travel anywhere, from distant stars to subatomic particles.  In Cosmos: A Personal Voyage, the ship appears as a ball of light or we see the bridge.  This time, Ryan Church designed a beautiful, sleek oblong ship that ushers us along our journey with Tyson.

My original inspiration was an amazing steampunk choker that I picked up at SoonerCon from C.C. Guice of A Wench in the Gear.  I loved the cascade of chains from the bottom and the large focal point and the buckle closure in the back.  It's one of my favorite pieces to wear... I get compliments on it all the time!

This project hasn't gone as well as I hoped it would.  My original intention was to cast this piece, but my molds have all been consistently crappy.  It's been 15 years since I made a mold using sillicone, and despite all the YouTubing, I've been unable to get something that works using homemade soloutions.  I broke down and bought some mold putty, which will hopefully allow me to cast this in resin like I want to.  I may need to phone a friend.  (the link contains nudes and may be NSFW)

Since I wanted this project to be ready by the time I publish the blog, I tried to turn "Frusturating failure" into "happy accident".


Sunday, July 27, 2014

Cosmos Jewlery part one: Galaxy Choker

This is part one of a more intricate piece coming up next week for a piece inspired by the miniseries Cosmos: A Spacetime Odyssey.  I'm a science fangirl and was eagerly anticipating the new show, which didn't disappoint.  It was a good follow-up to the original series by Carl Sagan.  Both filled me with a sense of childlike wonder at the amazing complexity of the world and universe we find ourselves in.

It inspired me to sculpt the Spaceship of the Imagination.  I began with sculpey and a marble, but sculpey is soft enough after baking that I don't trust it as a jewelry piece.  Plastic should be much more sturdy, so this little guy is currently sitting in a homemade silicone mold that's curing.

I wanted a statement piece to go along with this and so to go along with the theme of the show.  At SoonerCon, I found and bought an amazing steampunk choker that was made from an old belt.  I thought that was a great idea and went on a shopping spree a nearby Goodwill.

Supplies

  • Skinny belt
  • Scissors
  • Acrylic paint in black, white, blue, purple, red, and yellow
  • sponge (I'm using a latex makeup sponge)
  • small (size 0) paintbrush or a toothbrush, toothbpick, or dotting tool
  • Leather Punch or awl
  • Mod Podge or other sealant
  • Chain, jump rings, and jewelry clasp (if not keeping the belt buckle)

The brand of paint you use isn't important, nor are the colors.  If you look at images from the Hubble telescope, you'll see just about every color imaginable in there.  

(yes, the images are enhanced and show details not visible to the human eye.)

Sunday, July 20, 2014

"What the hell am I going to do with this thing?"


This week's project is inspired by a visit to Dallas Makerspace where I made a heart in their blacksmithing class.  I posted it on Facebook and my aunt asked me what I was going to do with it.  Instead of this being a tutorial, this is more the process that I went through making this piece.  

What AM I going to do with this thing?

I wanted to make it into some sort of wall art, and started playing around with the idea of making something similar to a dream catcher.  I liked the rustic feel of the hammered metal and I wanted to keep with that look.  I used hemp cord, wooden beads, and cast resin keys and locks to make this piece.

Making the Heart


Dallas Makerspace is one of over 100 workshops/studios that are available to the public.  They offer classes, sometimes with a nominal fee, and members have access the fun tools and experts to make sure they are used responsibly.  It's a relatively new phenomenon, but is growing.  I'll be taking more classes there!

Most of us had never done any sort of blacksmithing before.  Our instructors helped us hammer the ends of the rod we'd been giving into points, folding the metal in half, and curving the pointed ends until we ended up with a heart.  

Some people did complex, swirly hearts.  Others, like me, did simple shapes that I tried to just make as perfect as I could.  In the end, I am really happy with my first foray into blacksmithing.  That was definitely the most fun I've ever had while getting serious burns.

Sunday, July 13, 2014

Elfquest shoes

Elfquest is the story of Cutter and his tribe of Wolfriders as they discover their world is much bigger than they ever imagined after a fire destroys the forest they call home.  This comic series, by Wendy and Richard Pini, began in 1978.  Elfquest: The Final quest began in 2012.  There are so many things I love about this series.  I love seeing male characters be strong, brave and completely in love with their mate(s), children, and friends.  I love seeing strong, intelligent female characters who don't wait for a man to save them.  I love that Cutter's daughter Ember is tough, hard-headed, and a born leader and her twin brother Suntop is gentle and tender and loved as much as his sister.

Oh, then there's the art.  Wendy's ability to tell a story with her drawings alone are wonderful.  I had so much fun wandering through the old edition and finding all of those little bits of background foreshadowing and humor.  

Elfquest was the reason I began to draw in earnest in middle school.  It was the spark, guided by my mother, that led me to create my first world with my friends, a planet named M'aarth.  Elfquest was where we drew all of our inspiration.  Amber and I did most of the drawing, though I think just about everyone tried their hand at emulating Wendy Pini's style.  I found some very dear friends because of that world, people who will always have a very special place in my heart.

I found a tutorial on YouTube on how to a decoupage comic book shoe, which inspired me to do an Elfquest-inspired one. This is one of my favorite projects to date and I've gotten several compliments on them.  

Sunday, July 6, 2014

Metallic Lace Manicure Tutorial

I'm in the middle of working on a pair of decoupage shoes using images from one of my favorite comics when I was a child.  Since they're not done yet, it's nail art time!

This was the manicure that I had for SoonerCon, so since I was doing the steampunk thing, I thought I'd go with a nice metallic nail and I'm a sucker for "complicated" nail designs.

This one is a pretty easy one once it's broken down step-by-step.  It looks best with contrast between the colors.  You could do a contrast with light and dark, or even actual contrasting colors on the color wheel.  If you're not familiar with the color wheel or color theory, it's a very useful tool for helping to pick out colors for many arts and crafts.  

This technique isn't mine.  I can't remember where I ran across it the first time as it was several months ago. It's a variation on the no-tools cloud manicure, which is also an adorable look without all the extra dots.

However, dots make your nail art look much more complicated than it actually is.  

Tools 

  • Base coat
  • Nail polish colors:  Shown here is Pure Ice in "Silver Mercedes", "Magic", and "Bite Me" and Maybelline Color Show in "Bold Gold"
  • Dotting tool: I used both a large and small diameter dotting tool.  If you don't have this particular tool, a toothpick will make the small dots and an old ballpoint pen will do for the larger dots.
  • Palette
  • Top coat