 This is part one of a more intricate piece coming up next week for a piece inspired by the miniseries Cosmos: A Spacetime Odyssey. I'm a science fangirl and was eagerly anticipating the new show, which didn't disappoint. It was a good follow-up to the original series by Carl Sagan. Both filled me with a sense of childlike wonder at the amazing complexity of the world and universe we find ourselves in.
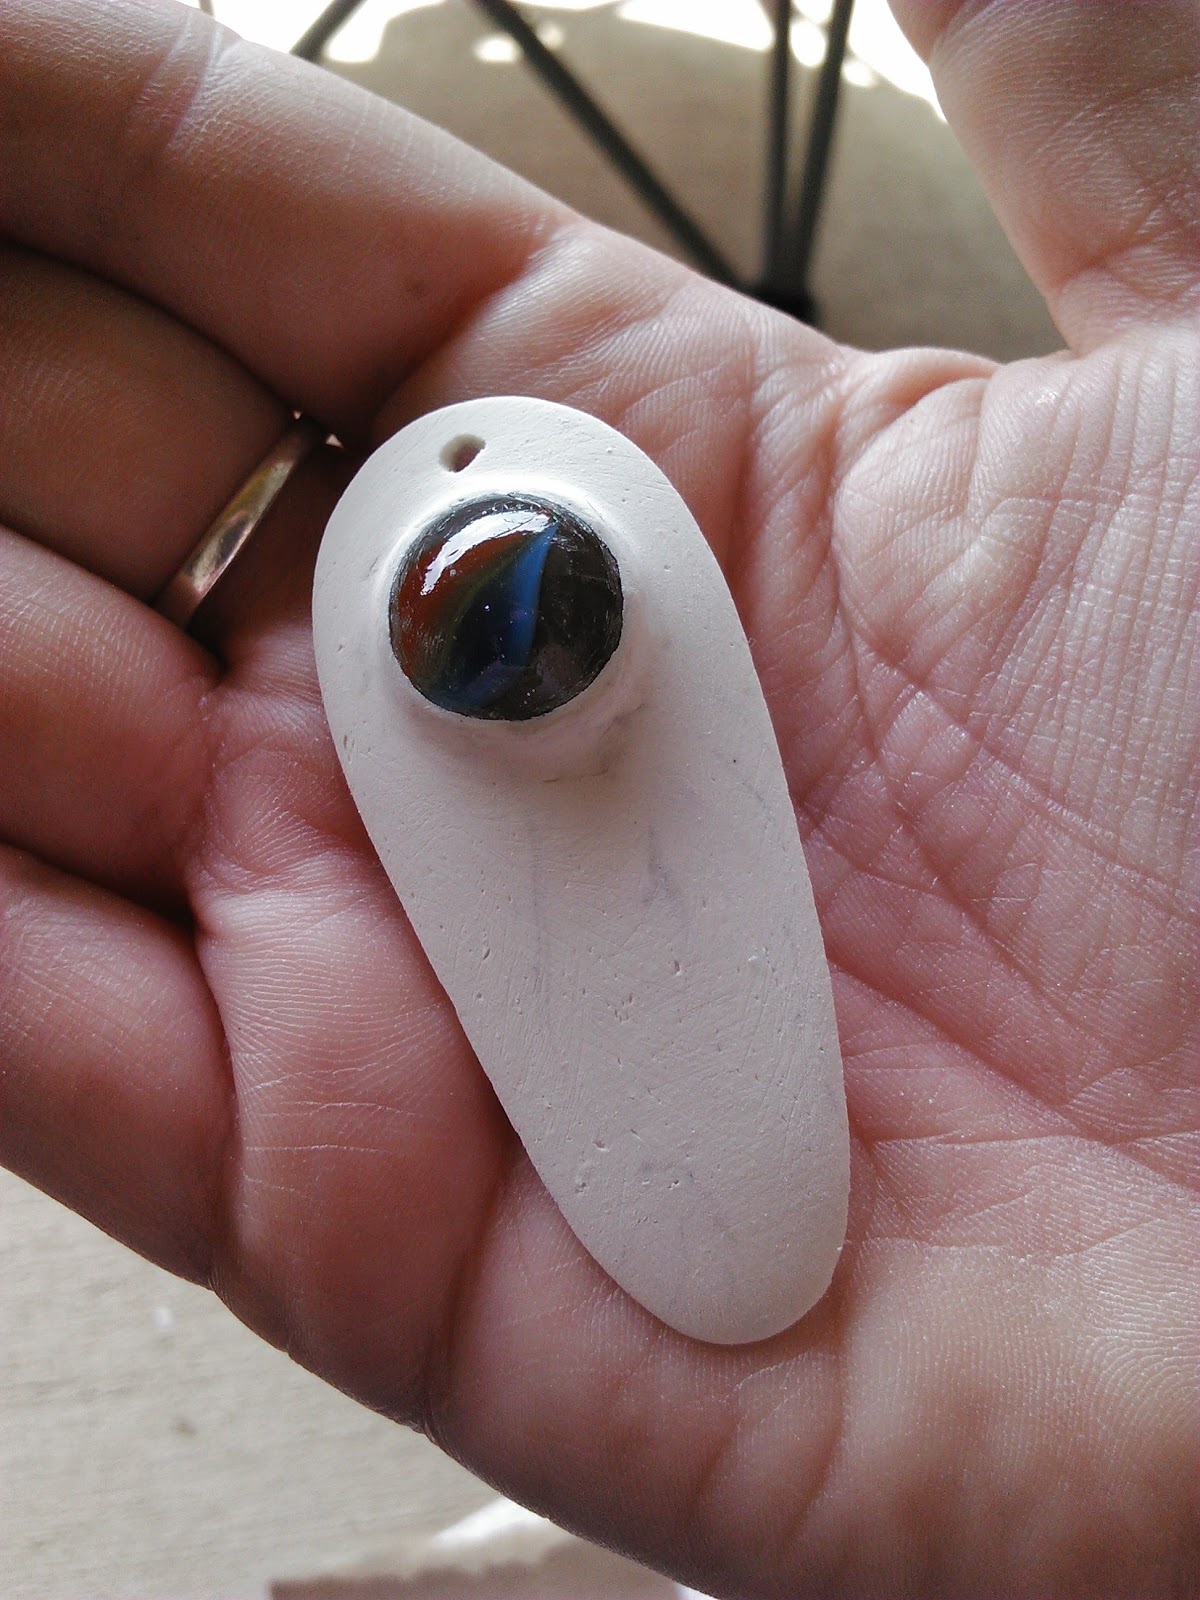
It inspired me to sculpt the Spaceship of the Imagination. I began with sculpey and a marble, but sculpey is soft enough after baking that I don't trust it as a jewelry piece. Plastic should be much more sturdy, so this little guy is currently sitting in a homemade silicone mold that's curing.
I wanted a statement piece to go along with this and so to go along with the theme of the show. At SoonerCon, I found and bought an amazing steampunk choker that was made from an old belt. I thought that was a great idea and went on a shopping spree a nearby Goodwill.
Supplies

- Skinny belt
- Scissors
- Acrylic paint in black, white, blue, purple, red, and yellow
- sponge (I'm using a latex makeup sponge)
- small (size 0) paintbrush or a toothbrush, toothbpick, or dotting tool
- Leather Punch or awl
- Mod Podge or other sealant
- Chain, jump rings, and jewelry clasp (if not keeping the belt buckle)
The brand of paint you use isn't important, nor are the colors. If you look at images from the Hubble telescope, you'll see just about every color imaginable in there.
(yes, the images are enhanced and show details not visible to the human eye.)
Upcycle a belt to a choker

Round the cut edge(s) with the scissors. If the cut looks rough, sand it using a nail file or sandpaper. Use your leather punch or awl to holes for the buckle prong to go through or as close to the ends as possible to allow you to attach jump rings later.
Painting

It looks a little wackadoodle right now, but it comes together when you add black with the same technique. Since the paint is a little thinned, the color shows through with a few bright spots. Stop when you like how it looks.
Starry Skies
There are tons of ways to create stars, and honestly, it doesn't matter. The goal is to have white dots of different sizes along the entire choker. How you do this can vary depending on your tools.
Toothpick/Dotting tool/paintbrush: The technique for this is the same regardless of the tool you use. You'll be placing your stars individually on your choker. Use a light hand to create smaller dots and a heavier hand to create larger ones. Make sure there's a lot of variety in sizes, which as you lose paint on your tools your dots will naturally get small. Stop when you like the way it looks.
Finishing up

If you've decided to keep the buckle, it's wearable once everything is dry. Add jump rings to the choker and then the chain and clasp. This chain isn't big enough for the lobster clasp to go through, so I added a jump ring and charm to have something to grab on to.

Just for funsies, here's me with the choker and a sparkly eye makeup because I can.

No comments:
Post a Comment